Breaking up your document will make it easier to read and better for your readers. A good way to do this is by adding vertical lines, and there are a number of ways you can do this in Google Docs. Here’s how to insert a vertical line in Google Docs.
How to Insert a Vertical Line in Google Docs Using the Drawing Tool
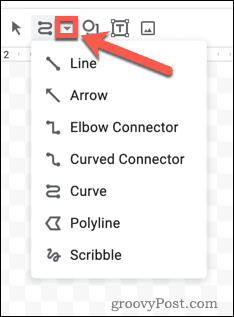
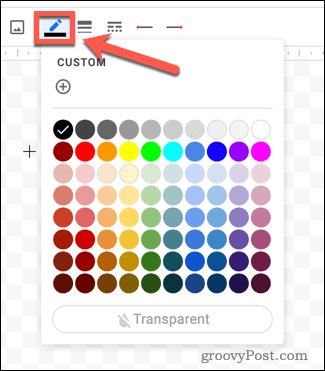
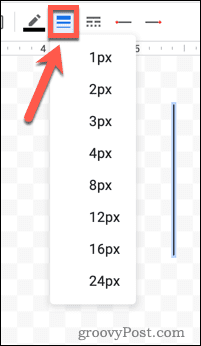
The drawing tool in Google Docs allows you to insert lines, shapes, text boxes, and images. You can use it to draw a vertical line that you can insert into your document. To insert a vertical line using the Google Docs drawing tool:
Insert a Vertical Line in Google Docs Using Columns
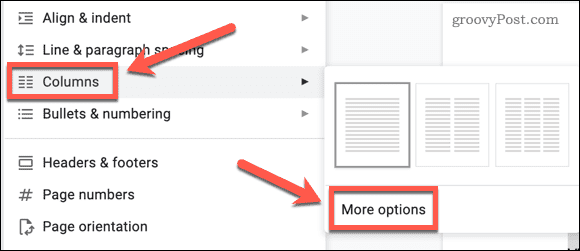
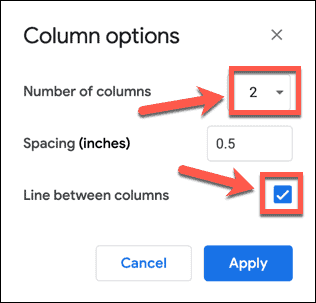
If you want the text in your document to be in columns, you may want to insert a vertical line in Google Docs between two text columns. To insert a vertical line using columns in Google Docs:
Insert a Vertical Line in Google Docs Using Tables
Another way to achieve a similar effect is to use table borders to create a vertical line. The benefit of this method is that as you type more text, the vertical line will extend to match the amount of text. To insert a vertical line in Google Docs using tables: As you type in the cells of your table, the vertical line will grow as the cell increases in height. You can also click on the line and drag it to reposition the cell border.
Get Creative with Google Docs
Knowing how to insert a vertical line in Google Docs will break up your document text and allow you to write more creative documents. There are other ways to make your documents stand out in Google Docs, however. For instance, you can add a border in Google Docs to frame your page. You can layer images in Google Docs to create complex visual elements. It’s even possible to combine your skills and make a book in Google Docs. Comment Name * Email *
Δ Save my name and email and send me emails as new comments are made to this post.
![]()


