Think of the Whiteboard you use in the meeting room in your place of business, except this one is virtual. You can use it to sketch out brainstorm ideas on the digital canvas. If you haven’t taken advantage of it yet, here’s how to use the Whiteboard in a Microsoft Teams meeting.
How to Use the Whiteboard in a Microsoft Teams Meeting
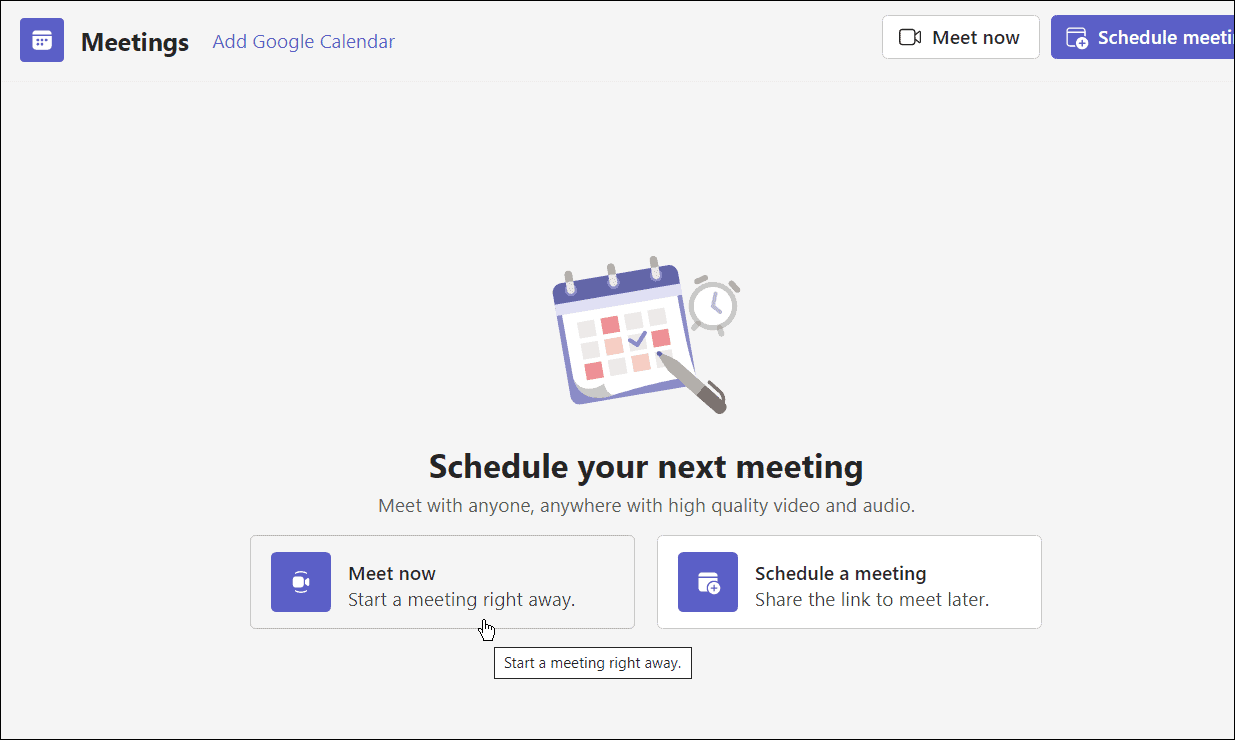
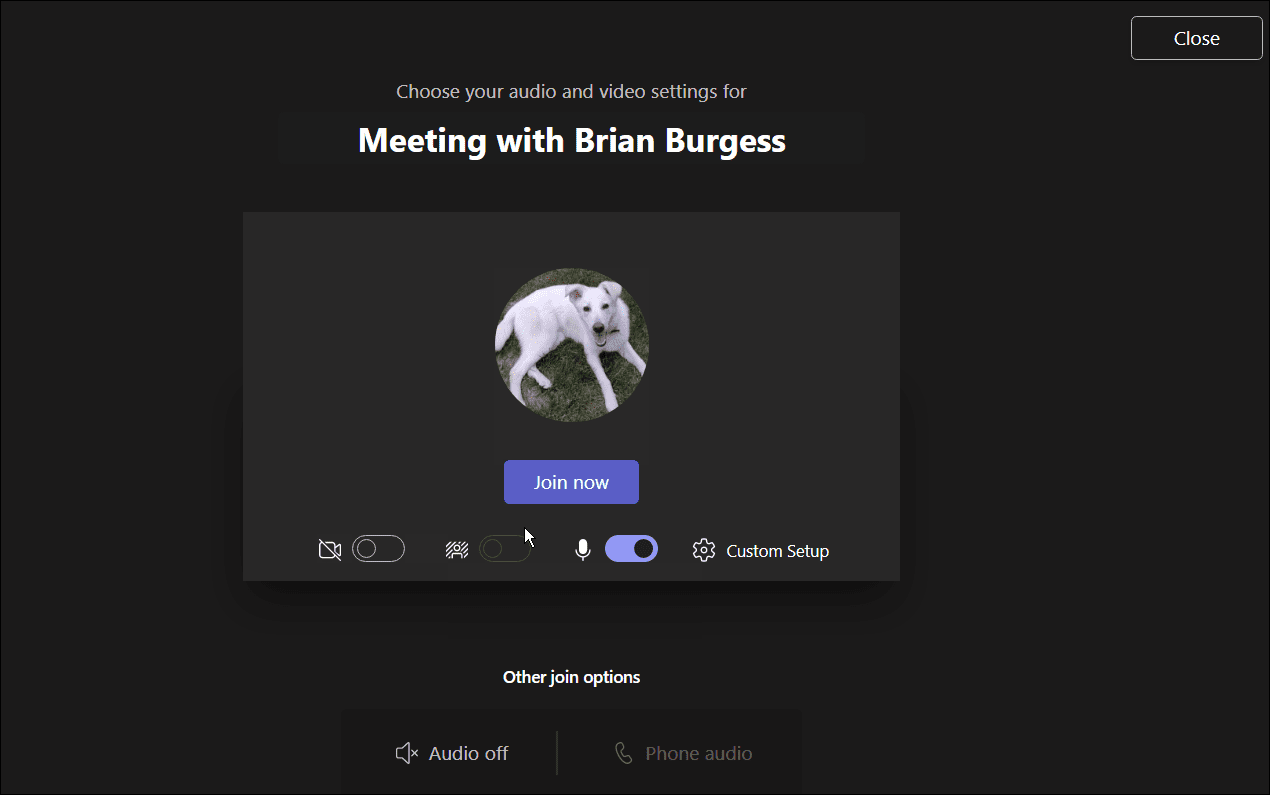
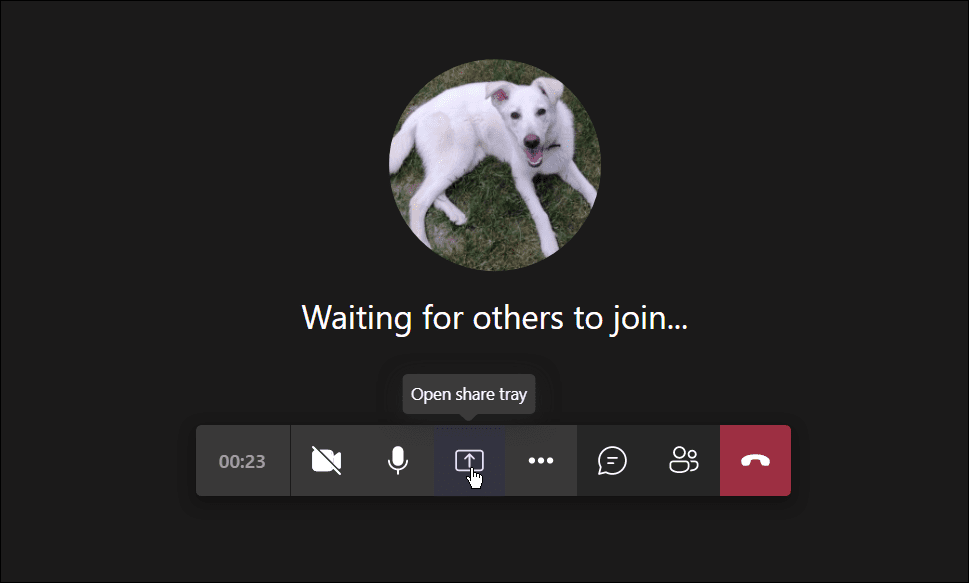
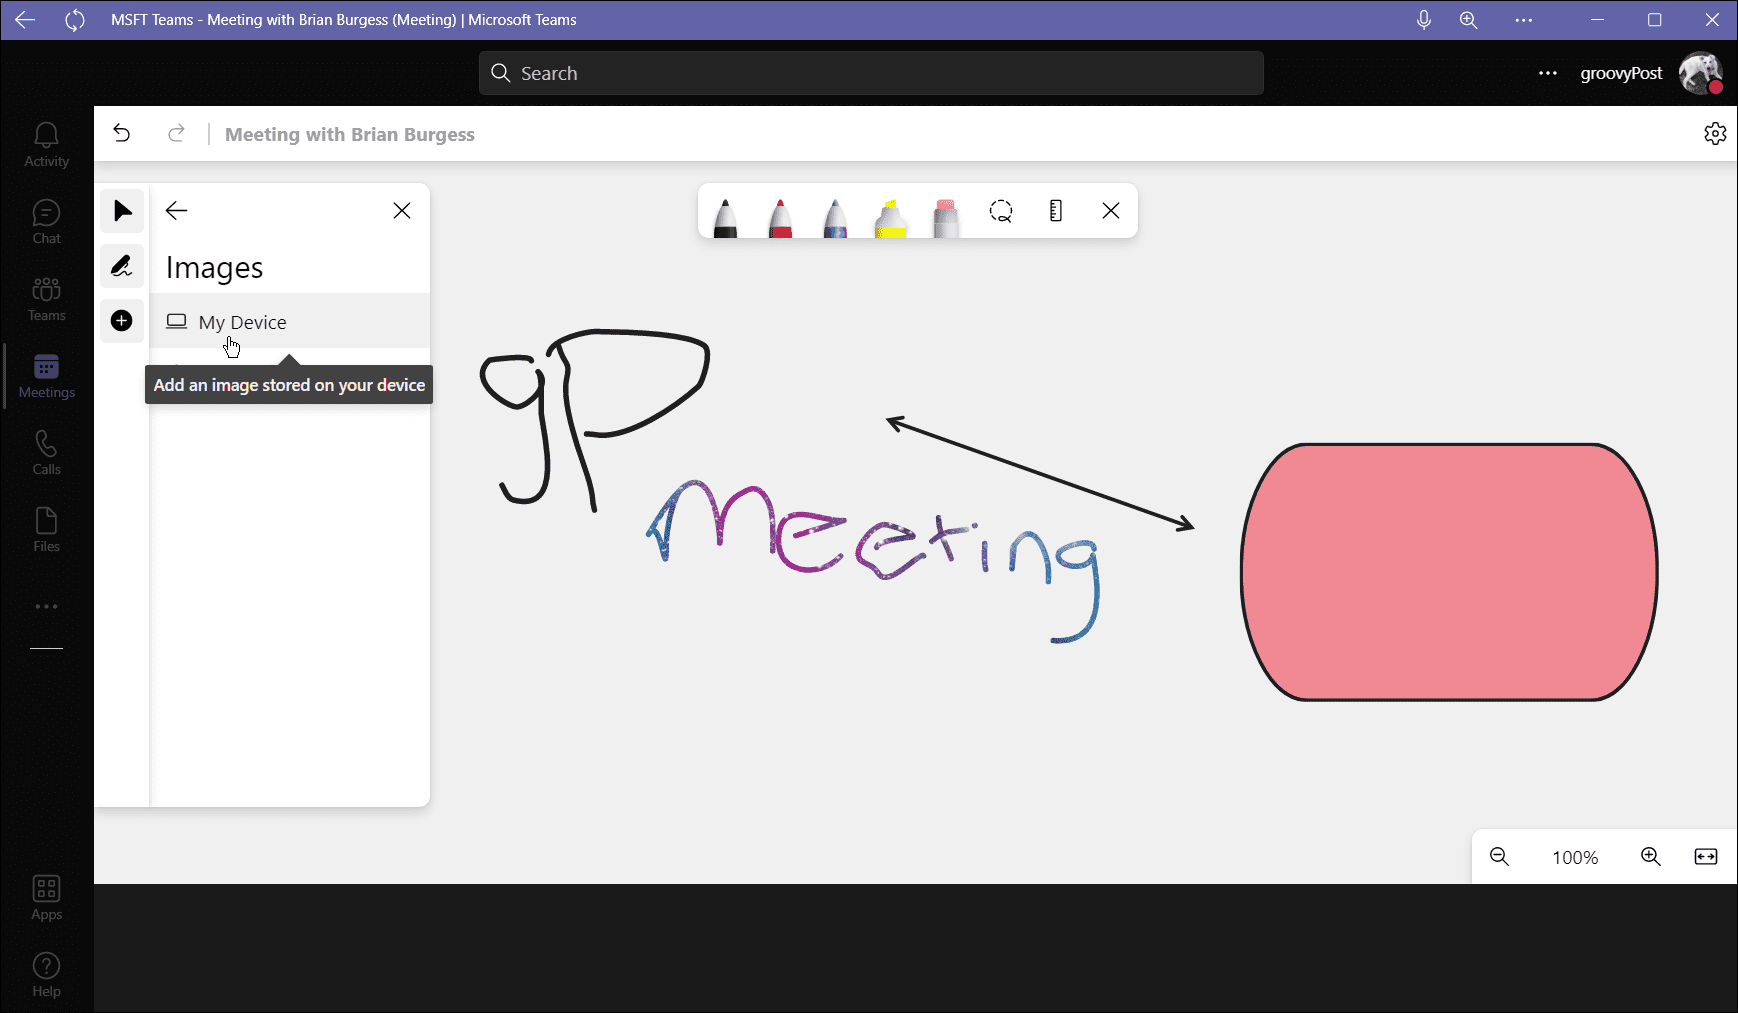
The whiteboard feature is much like a standard whiteboard that you’d see in a classroom or the meeting room at your company. You can draw on it, write on it, and use it to work on information together in a meeting. The information added to a Teams whiteboard is stored in the cloud and is accessible to anyone with a Teams invite. To use the whiteboard feature in Microsoft Teams:
How to Export a Whiteboard Image in Teams
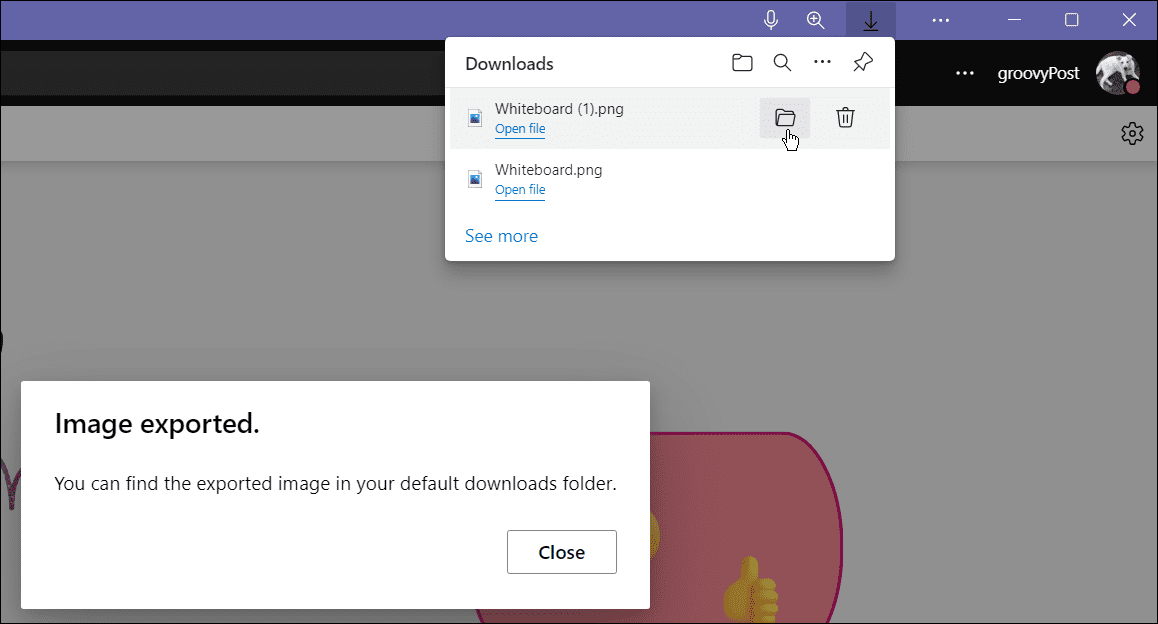
If you’ve worked on a whiteboard in a Teams meeting, you might want to save it for later. You can export the whiteboard image to work on it later or to share it with others. To export a Whiteboard in Microsoft Teams: Once you’ve exported it, you can edit it further in a fully-fledged image editor, such as SnagIt or Photoshop.
Collaborating in Microsoft Teams
Once you start using a whiteboard in a Teams meeting, you’ll start to see how useful it can be. You can then start to use more advanced features, such as creating project templates for specialized meetings. As long as all meeting participants are on a stable connection, group sketching is responsive for everyone on a Teams call. The whiteboard isn’t the only useful feature available for Microsoft Teams users. So, for example, you can add Microsoft Teams to Outlook or create a team with a template. It’s not limited to sharing the whiteboard either—you can share your PC screen in Teams too. Comment Name * Email *
Δ Save my name and email and send me emails as new comments are made to this post.
![]()

